Showing posts with label Scrapbook. Show all posts
Another Friday Rest Day for me and I just came home from my bebe's school. I got lots of time to waste on doing nothing so I decided to make a Scrapbook Album from scratch.

Materials:

- Used/old cardboard or chip board or cake box board
- Printed papers or cardstocks (I used Wrapping Papers)
- Glue
- Ruler
- DIY scoring tool (old pen + paperclip)
- pair of scissors

I outlined the scrapbook paper that I would be using for my pages and used it's size to complete the measurements for my box

Crease on the lines and fold. Glue the corners together to make the box. I used paperclips to hold the glued sides in place.

Let it sit for a few minutes until the glue dries up. Remove paperclips after glue dried.

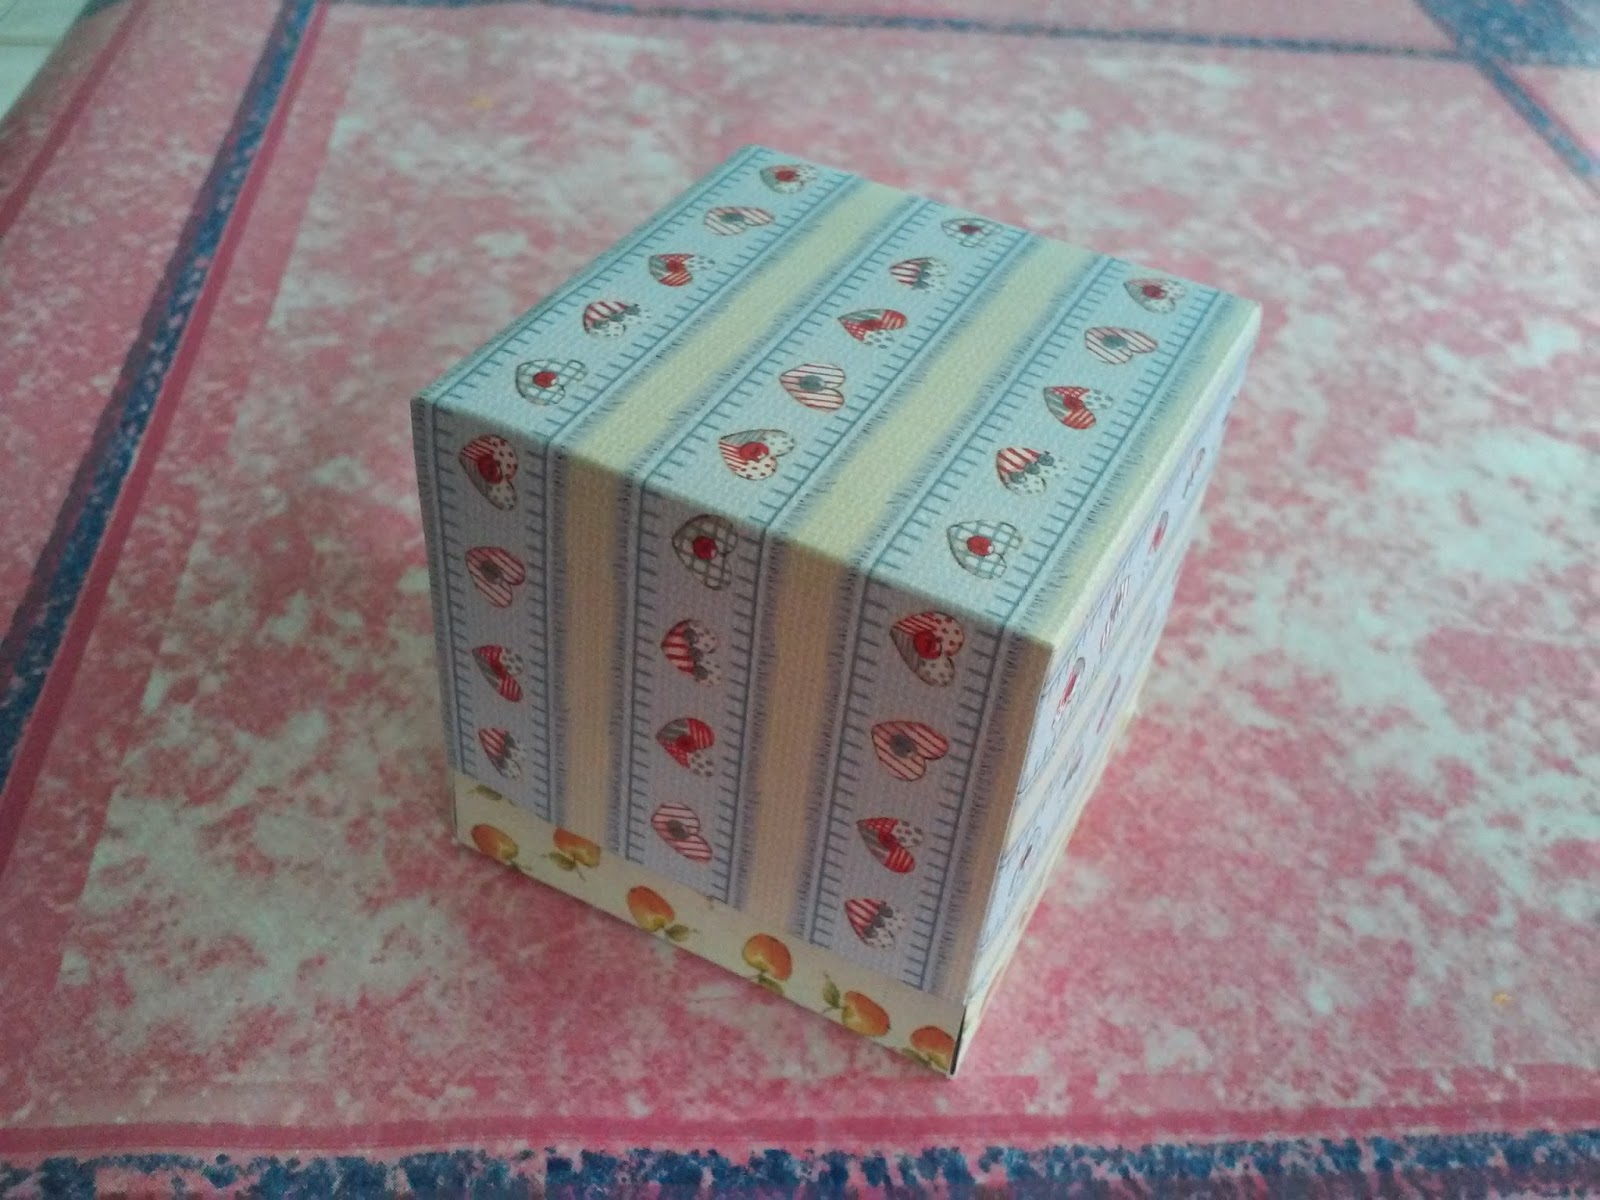
I used Wrapping Paper to cover my scrapbook.


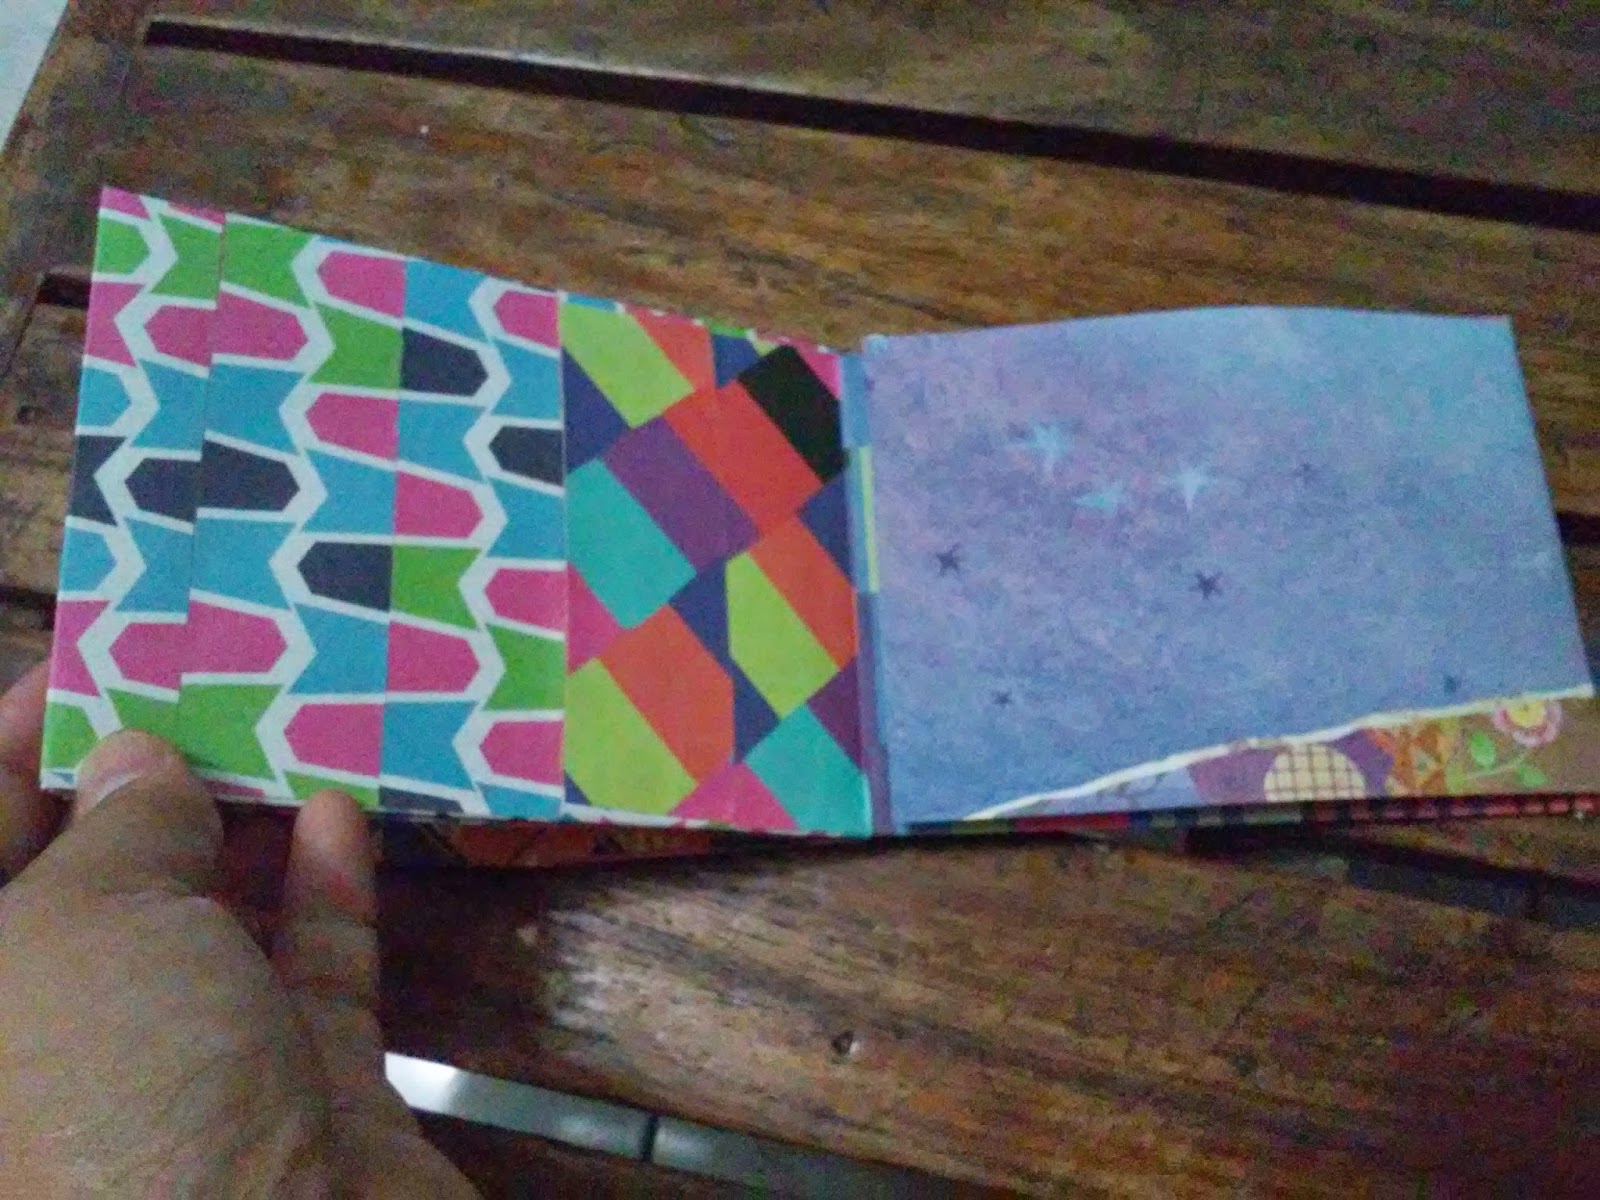
Place the Scrapbook Pages in and it's ready to be filled with photos and other memorabilia.

I had a sudden desire to craft the moment I woke up at 2 PM (I had very little sleep by the way). So I rummaged my scrap box and looked for anything I could work with.

I actually had an "almost anxiety attack" because I was thinking so hard about my wedding invitations (that's probably the reason why I woke up so early). I couldn't get myself to rest well because I still haven't started doing my invites. So to get rid of the stress, I thought of doing some paper crafting.

I was supposed to do a sample of my wedding invites but I couldn't put myself in actually doing it. I was already about to give up when I saw some old pics of the bebe which I didn't use in her baby book. An idea hit me so I immediately started working.


2 x 2 " Exploding Box


Materials used:

Card stock (I used size 6x6)
Pair of scissors
Glue
Ruler
Pencil
Pictures


Using the ruler, measure 2" squares on each side. Do these on 2 sheets of card stock. One for the cover and one for the bottom. For the inner page, measure 1-2 cm smaller than the bottom. If you wish to have more pages, reduce the size of the squares by 1-2 cm per page.


Cut through the lines. Make sure your box cover looks like the below. For the cover, cut about 0.25" - 0.5" on all sides so that your cover will be shorter then your bottom box.


As for the bottom box cut the corner boxes to form a small letter t. Do the same for the rest of the inner pages. Set aside.


Glue together the flaps to form the box cover.


Get the bottom and inner pages. Glue together in the center square. Make sure not to glue the outer squares.


Then add the pictures and you are done.


Enjoy paper crafting! Do share your finished projects in the comments below. Thanks for reading!!! :)
I am recently addicted to trying out sorts of scrapbooking styles and designs for wedding invitation inspirations. I keep surfing the net to find out tutorials on how to make mini albums out of scrap papers/chip boards. Luckily, there are lots of step by step tutorials in youtube and some other blogs. It's like information overload for me. I just couldn't rest my hands and I so want to try every one of them.

The one that really made a very great impression to me is the mini album out of used cash envelopes. It's super easy and will really turn out very pretty.

Here's my take on the recycled cash envelope mini album made pretty using DIY papertapes.


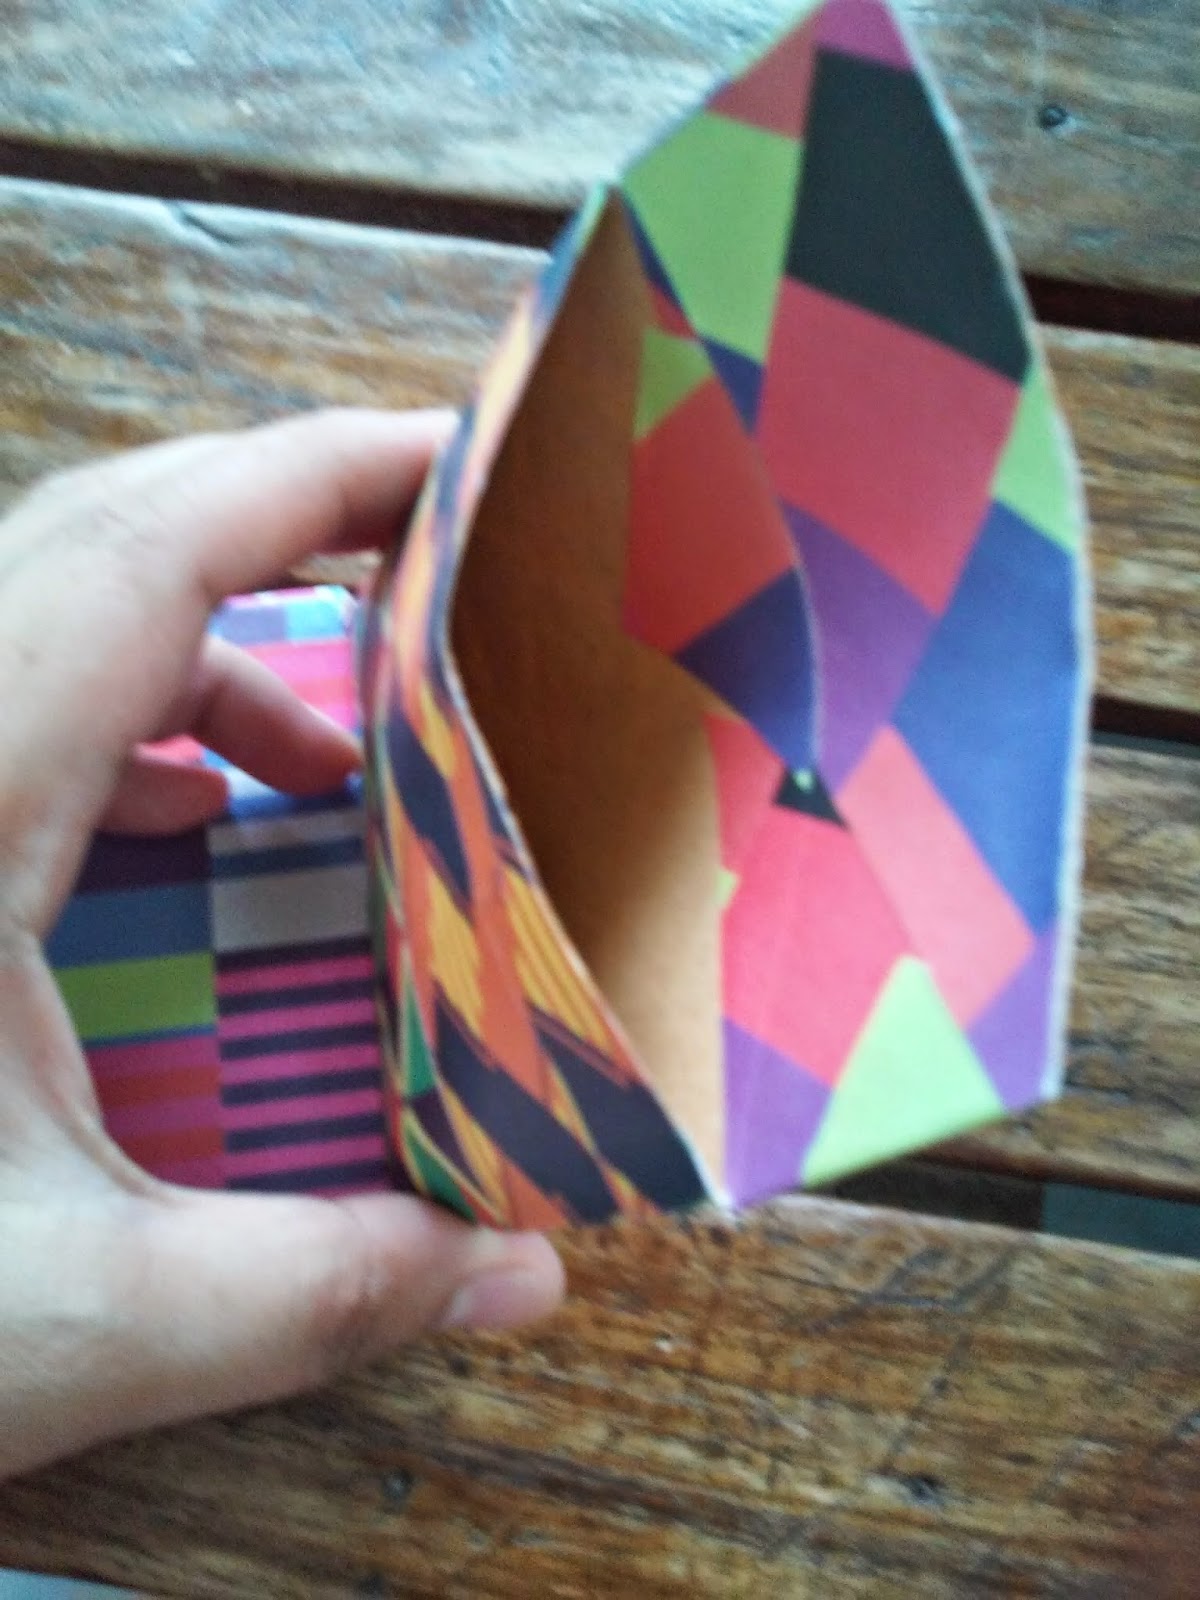
Envelopes make a really good scrapbook album. All you have to do is fold one envelope in your preferred position and glue/attach it to another folded envelope. You will have multiple pages plus you'll have pockets for extra card stocks or photos.


So there you go, easy to make mini album for my next scrapbooking project.

Enjoy doing your own mini album project and don't forget to share what you come up with in the comments. :)


I have ran out of ideas and supplies to do scrapbooks. Therefore, I made use of whatavere I had left.

I rummaged through some of our recyclable garbage and found a clean pizza box ready for disposal (thank God it's clean). I cut out half of the whole box which I would use for the scrapbook album cover.

I had no idea how I could make it pretty until I saw ideas from the instagram shops I followed selling washi tapes.

Since I still had some of my fabric tapes left, I "fabricized" my scrapbook album. Here's the finished product.


I am originally planning to give out the usual "scrapbook frame" I am now so addicted into, but my boyfriend asked me to help him make a scrapbook album for her sister's birthday come July 4. He wanted her sister's friends to write down messages/greetings which I will incorporate with the whole album. Since I have not made an album for quite a while now, I agreed (excitement creeps in!) So there we go buying the stuff I need for the DIY birthday gift.

Materials:
Scrapbook paper
Ready-made Scrapbook Album (blank)
Embellishments (buttons, yarn, etc)
Photopaper
Adhesives
Pair of scissors/paper cutter
Old photos

Since I already have the ready-made album, all I needed to do is arrange the pictures and make the blank album livelier and creative.

Here's what I completed. I am so hoping she love this as much as I loved doing it!


Previous PostOlder Posts Home