
I actually had an "almost anxiety attack" because I was thinking so hard about my wedding invitations (that's probably the reason why I woke up so early). I couldn't get myself to rest well because I still haven't started doing my invites. So to get rid of the stress, I thought of doing some paper crafting.
I was supposed to do a sample of my wedding invites but I couldn't put myself in actually doing it. I was already about to give up when I saw some old pics of the bebe which I didn't use in her baby book. An idea hit me so I immediately started working.
 |
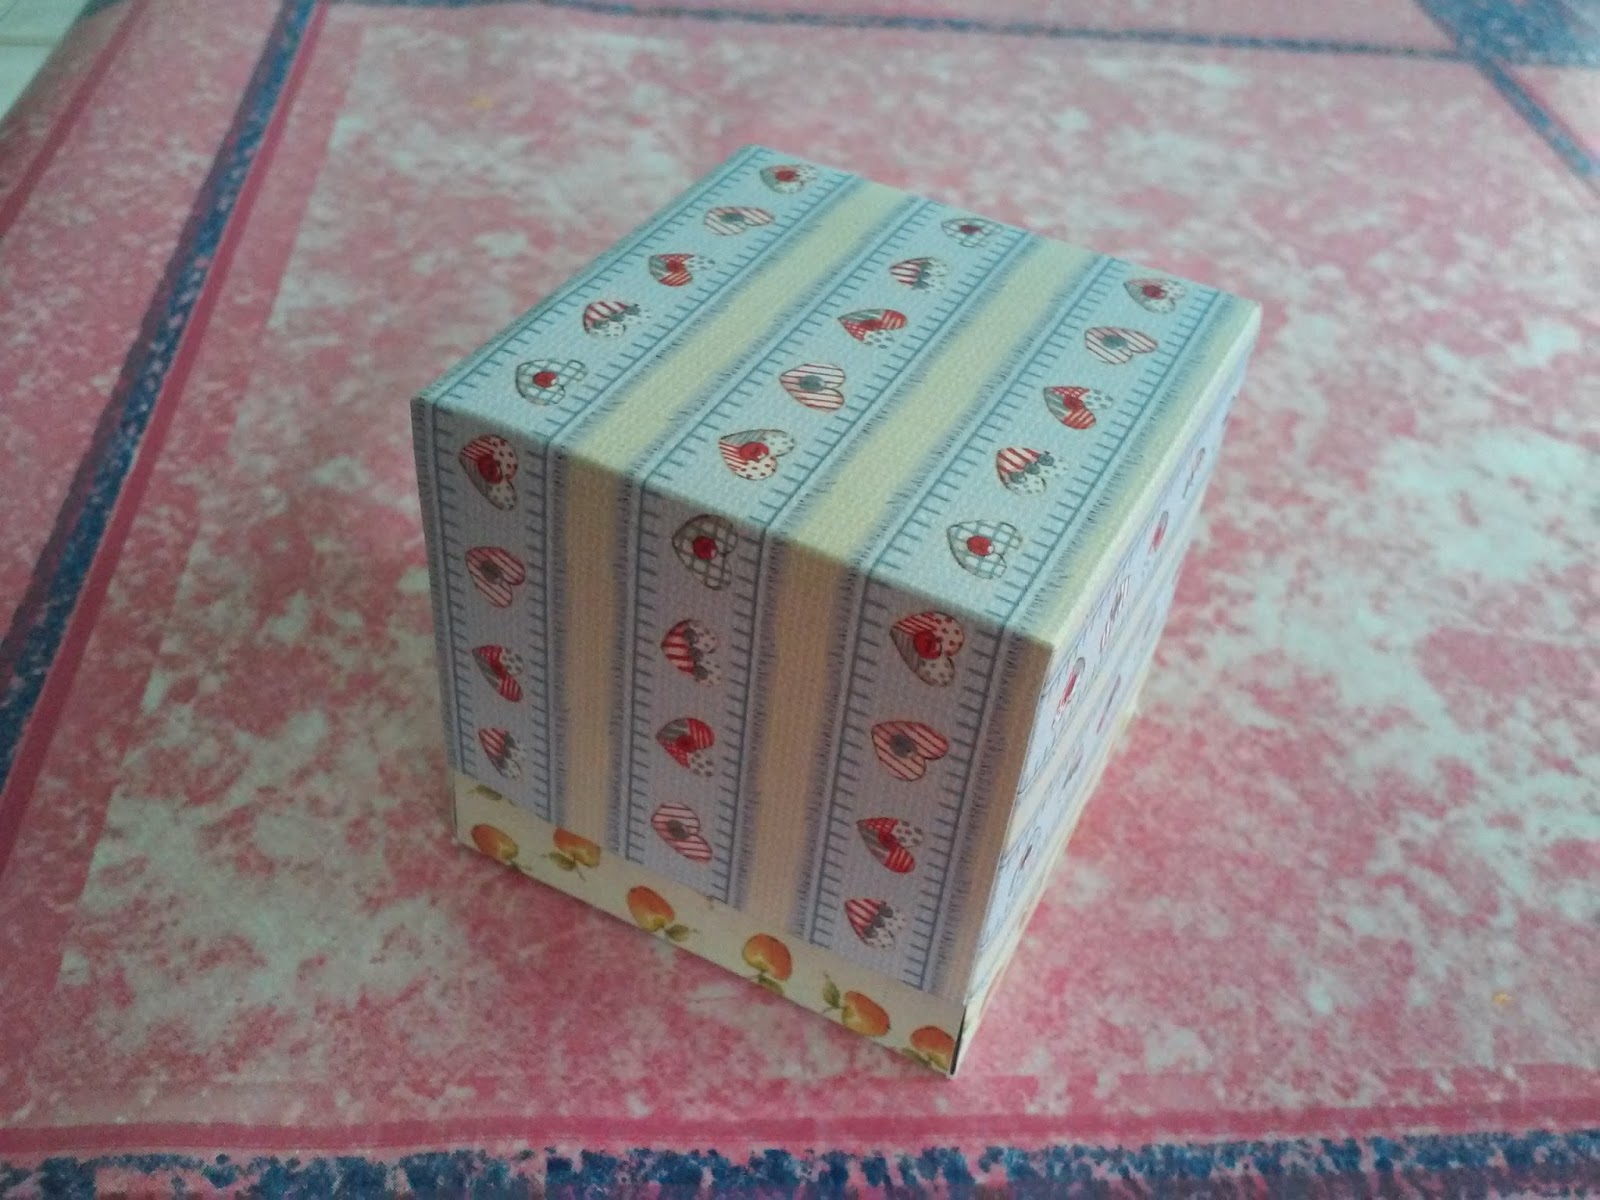
| 2 x 2 " Exploding Box |

Materials used:
Card stock (I used size 6x6)
Pair of scissors
Glue
Ruler
Pencil
Pictures
Using the ruler, measure 2" squares on each side. Do these on 2 sheets of card stock. One for the cover and one for the bottom. For the inner page, measure 1-2 cm smaller than the bottom. If you wish to have more pages, reduce the size of the squares by 1-2 cm per page.


Cut through the lines. Make sure your box cover looks like the below. For the cover, cut about 0.25" - 0.5" on all sides so that your cover will be shorter then your bottom box.

As for the bottom box cut the corner boxes to form a small letter t. Do the same for the rest of the inner pages. Set aside.

Glue together the flaps to form the box cover.


Get the bottom and inner pages. Glue together in the center square. Make sure not to glue the outer squares.


Then add the pictures and you are done.


Enjoy paper crafting! Do share your finished projects in the comments below. Thanks for reading!!! :)


. So I rummaged my scrap box and looked for ...)
0 comments:
Post a Comment